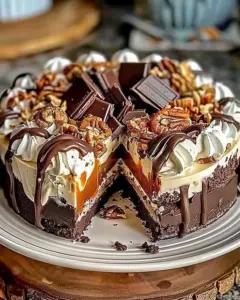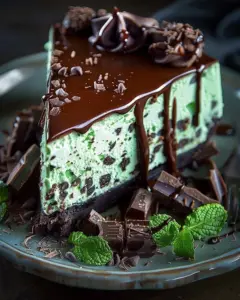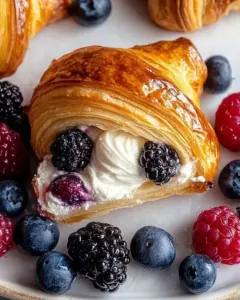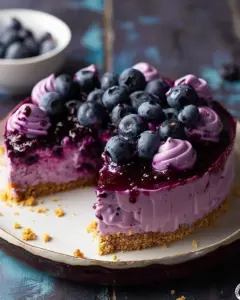
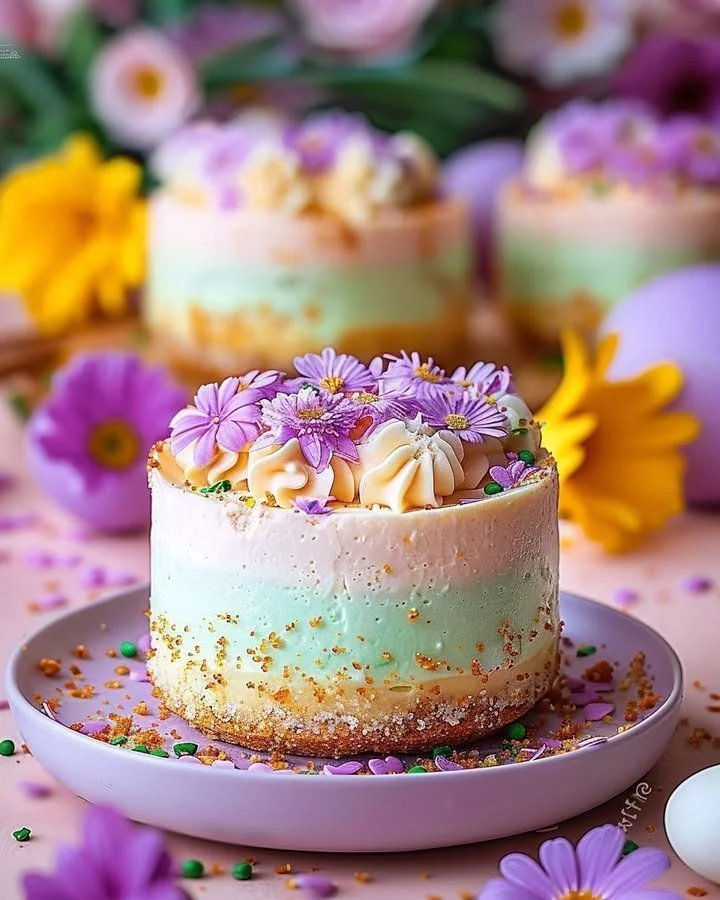
Easter No-Bake Mini Cheesecakes are the perfect treat to celebrate the springtime holiday. With their delightful pastel colors and creamy texture, these mini cheesecakes evoke joy and nostalgia, making them an irresistible dessert for family gatherings. This recipe is not only easy to follow but also offers a delightful combination of flavors that will leave your guests wanting more. In this step-by-step guide, I’ll take you through the process of creating these delicious mini treats that are sure to impress.
Ingredients
To craft the wonderful Easter No-Bake Mini Cheesecakes, you’ll need the following ingredients:
- 1 cup graham cracker crumbs: These crumbs provide a crispy, buttery base that pairs beautifully with the creamy filling.
- 3 tbsp unsalted butter (melted): This adds richness and helps bind the crust together.
- 2 tbsp sugar (optional): A touch of sweetness for those who prefer a sweeter crust.
- 8 oz cream cheese (softened): The star of the filling, cream cheese delivers a rich and creamy texture.
- 1/2 cup powdered sugar: Adds sweetness without being overly grainy.
- 1 tsp vanilla extract: This aromatic addition enhances the flavor profile, bringing warmth to each bite.
- 1 cup heavy whipping cream (cold): Whipped to perfection, this elevates the cheesecake’s texture to light and fluffy.
- Pastel food coloring (optional): Vibrant hues that make your desserts pop and fit the festive spirit.
- Easter candies (for decoration): Add a playful touch with colorful decorations that capture the essence of Easter.
- Whipped cream (optional for topping): A fluffy finish that adds to the aesthetics and taste.
Step-by-Step Directions
1. Prepare the Crust
Start by mixing the graham cracker crumbs, melted butter, and optional sugar in a bowl until evenly combined. The texture should resemble wet sand. Next, press this mixture firmly into a muffin tin or individual molds. Place your crusts in the refrigerator to chill while you prepare the filling. This allows them to set properly, ensuring a sturdy base for your cheesecake.
2. Make the Filling
In a mixing bowl, beat the softened cream cheese, powdered sugar, and vanilla extract together until smooth and creamy. This mixture should be well combined, with no lumps remaining. In another bowl, whip the cold heavy cream until stiff peaks form. This step is crucial; the whipped cream adds lightness to the cheesecake filling. Gently fold the whipped cream into the cream cheese mixture until well incorporated for a luscious texture.
3. Add Colors
If you’d like to incorporate some fun colors into your cheesecakes, divide the filling into separate bowls and add pastel food coloring to each. Stir gently until you achieve your desired hues – think soft pinks, blues, greens, and yellows that evoke the cheerful spirit of Easter.
4. Assemble Cheesecakes
Now it’s time to assemble! Spoon the colored filling over the chilled crusts, smoothing the tops with a spatula for an even finish. Create a beautiful, layered effect by alternating colors for a striped look or simply choose one color per cheesecake.
5. Chill and Decorate
Refrigerate your mini cheesecakes for at least 2-3 hours, allowing them to firm up beautifully. Once set, remove them from the tin and transfer to a serving plate. Top with Easter candies and a dollop of whipped cream for a whimsical touch before serving.
Tips & Tricks
- Room Temperature Ingredients: Ensure that your cream cheese is at room temperature; this will help achieve a smooth filling without lumps.
- Variations: Try incorporating different flavors by adding lemon or almond extract in place of vanilla for a twist.
- Presentation: Use pastel cupcake liners for an extra pop of color and easy serving.
Serving Suggestions & Pairings
These Easter No-Bake Mini Cheesecakes are perfect for spring gatherings, family get-togethers, and brunches. Pair them with a fresh fruit salad, coffee, or iced tea for a delightful spread. Their colorful appearance and rich flavors will surely be a hit!
Nutritional Information
Each mini cheesecake typically contains around 150 calories, depending on the size and toppings used. They offer a balance of creamy indulgence and delightful sweetness, perfect for enjoying on special occasions.
Storing Tips & Variations
Store any leftover cheesecakes in an airtight container in the refrigerator for up to three days. For longer storage, you can freeze them for up to a month. Just make sure to thaw them in the refrigerator before serving. Consider experimenting by adding crushed Oreos, fruit purees, or various candy toppings to customize your cheesecakes.
Conclusion
Make these Easter No-Bake Mini Cheesecakes the star of your holiday celebrations! Their creamy texture, delightful colors, and easy preparation will ensure they become a cherished recipe in your family. Don’t forget to share your experience and any personal touches you added!
FAQs
1. Can I use regular sugar instead of powdered sugar?
While you can use granulated sugar, powdered sugar blends more smoothly into the cheesecake filling without creating graininess.
2. How can I make these cheesecakes gluten-free?
To make the crust gluten-free, simply replace the graham cracker crumbs with gluten-free alternatives, such as ground almonds or gluten-free cracker crumbs available at most grocery stores.
3. What can I use instead of cream cheese?
If you’re looking for a dairy-free option, consider using cashew cream or a vegan cream cheese substitute, though the texture and flavor may differ slightly.
4. Can I make these cheesecakes in advance?
Absolutely! You can prepare them a day or two in advance, allowing the flavors to meld beautifully while also saving you time on the day of your gathering.
5. How do I prevent the crust from being too crumbly?
Make sure to fully incorporate the melted butter with the graham cracker crumbs; the mixture should hold together when pressed. If it feels too dry, add a touch more melted butter.
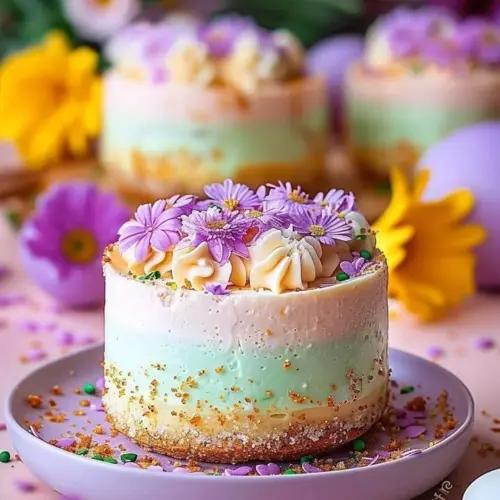
Easter No-Bake Mini Cheesecakes
Ingredients
For the crust
- 1 cup graham cracker crumbs Provides a crispy, buttery base.
- 3 tbsp unsalted butter (melted) Adds richness and binds the crust.
- 2 tbsp sugar (optional) For a sweeter crust.
For the filling
- 8 oz cream cheese (softened) Delivers a rich and creamy texture.
- 1/2 cup powdered sugar Adds sweetness without being grainy.
- 1 tsp vanilla extract Enhances the flavor profile.
- 1 cup heavy whipping cream (cold) Whipped to perfection for a fluffy texture.
- Pastel food coloring (optional) To enhance visual appeal.
For decoration
- Easter candies For playful decoration.
- Whipped cream (optional for topping) Adds a fluffy finish.
Instructions
Prepare the Crust
- Mix graham cracker crumbs, melted butter, and optional sugar in a bowl until evenly combined. Press mixture into a muffin tin or molds. Refrigerate to chill.
Make the Filling
- Beat softened cream cheese, powdered sugar, and vanilla until smooth. Whip cold heavy cream until stiff peaks form, then fold into the cream cheese mixture.
Add Colors
- Divide the filling into bowls and add food coloring, stirring gently until desired hues are achieved.
Assemble Cheesecakes
- Spoon colored filling over chilled crusts and smooth tops with a spatula. Create layers or choose one color per cheesecake.
Chill and Decorate
- Refrigerate for at least 2-3 hours until firm. Top with Easter candies and whipped cream before serving.